DynamoDC - Precision Inquisition

Last week I had the pleasure of presenting [remotely] to the DynamoDC user group. Timon Hazell reached out to ask if I would be willing, and since he had so generously served as our guest lecture for the Dynamo-litia September 2016 meeting, I was more than happy to return the favor. Apparently DynamoDC has previously hosted several intro to Dynamo workshops so he asked if I could demonstrate a more advanced example of how Dynamo can be used to extend Revit functionality.

One of my favorite things about AEC community outreach through user groups, conferences, and hackathons are that I am exposed really interesting problems that I would not have encountered in my own work. At the beyondAEC Hackathon the week before, one of the participants had asked me if there was a way to use Dynamo to isolate the exterior facade material areas and types specifically corresponding to a room in the building. I figured DynamoDC would be the perfect opportunity to tackle this workflow and the PRECISION INQUISITION: Advanced Extraction of Revit Model Information Using Dynamo presentation was born...

Image 1_DynamoDC_precision inquisition.jpg

Revit models are powerful repositories of geometric, numeric, and descriptive building information, however the default tools for accessing that information are often limited and cumbersome. Recent questions have been raised about utilizing Dynamo to execute precise tasks such as performing quantity takeoffs on specific portions of an exterior facade, comparing vision glass to room area, or even evaluating the proportion of total facade area by building orientation. Special guest Kyle Martin will deliver a [remote] live demonstration of advanced model analysis approaches with Dynamo. Topics covered will include: visual programming principles, general logic, list management, list at level, filtering and sorting, index tracking, querying Revit parameters, geometric properties, color for clarity, and much more.

In the hour of available presentation time I hoped to cover the following ambitious list of concepts:

  • basic visual programming principles
  • general logic
  • list management
  • list at level
  • filtering and sorting
  • index tracking
  • querying Revit parameters
  • geometric properties
  • color for clarity

As I prepared for the presentation, the Dynamo workflow grew increasingly complex.

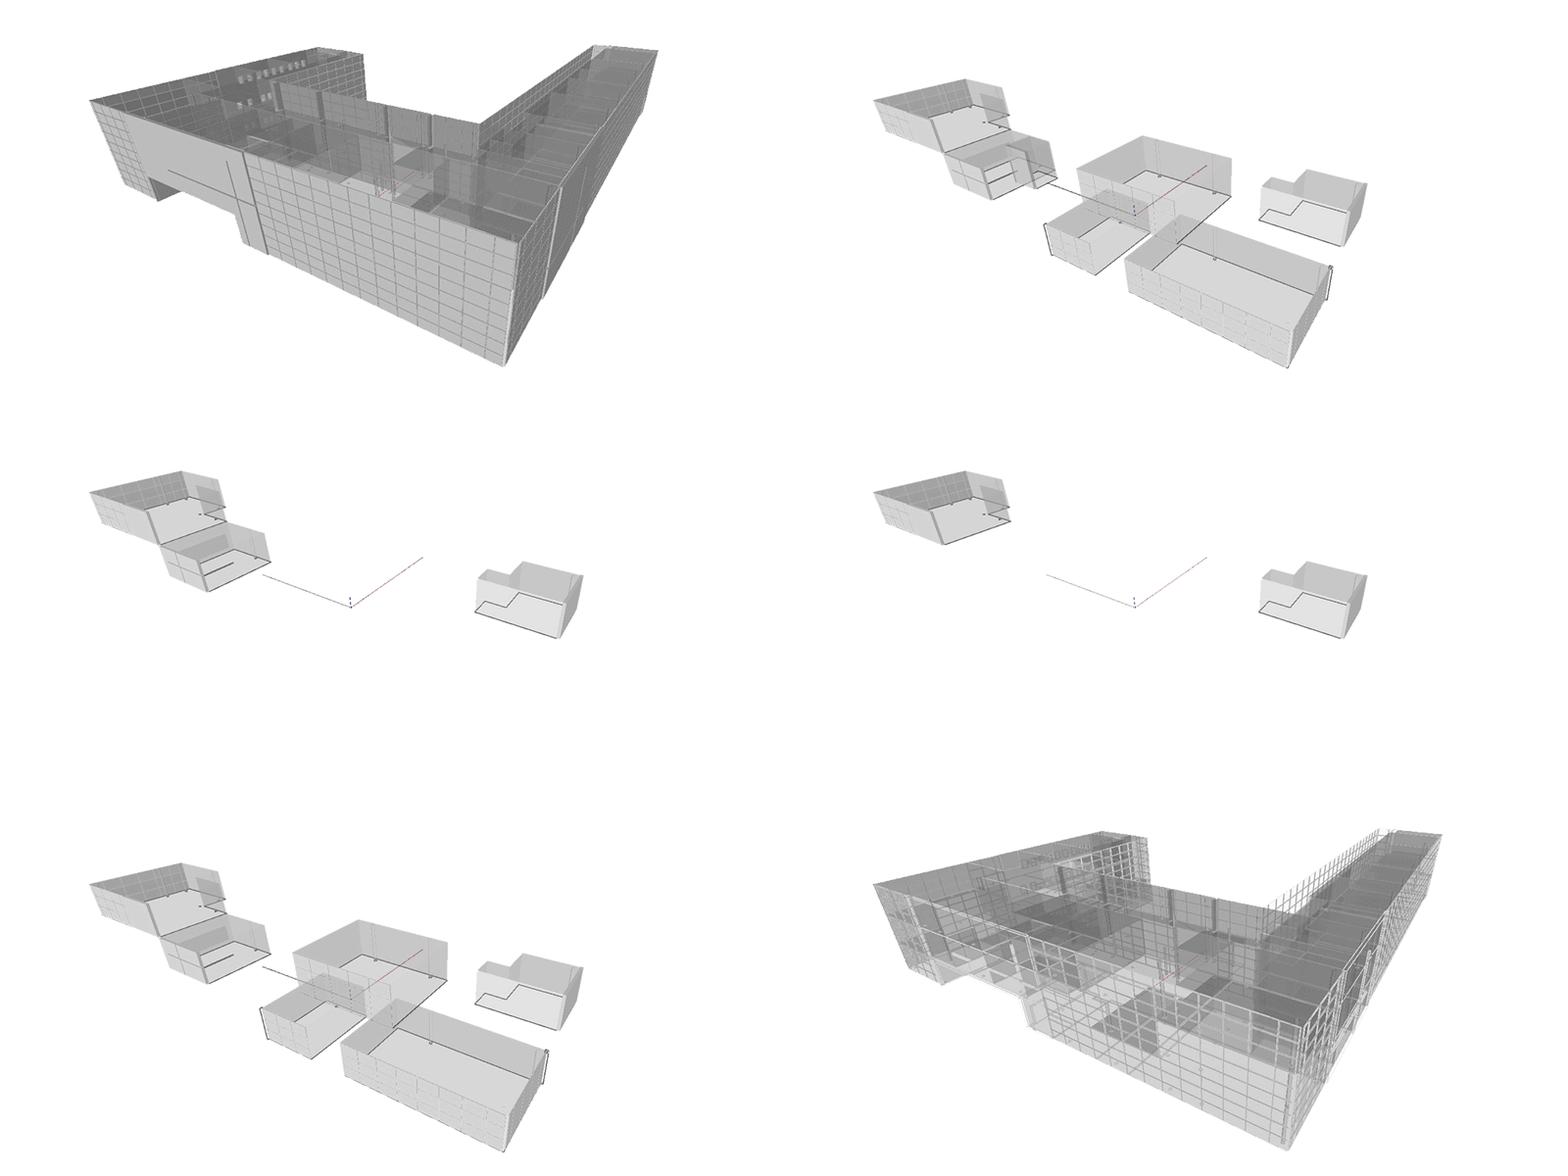
The principal function of the Dynamo definition was to query exterior wall geometry from the model based on a room number and perform material takeoffs, directional composition, and visual analysis.

OBJECTIVES: Target specific rooms in the Revit model by Room Number, isolate the exterior Wall/Window elements specific to that room, calculate total area of exterior facade for each Room, understand composition of vision to solid materials, and ass…

OBJECTIVES: Target specific rooms in the Revit model by Room Number, isolate the exterior Wall/Window elements specific to that room, calculate total area of exterior facade for each Room, understand composition of vision to solid materials, and assist with code calculations such as light & ventilation.

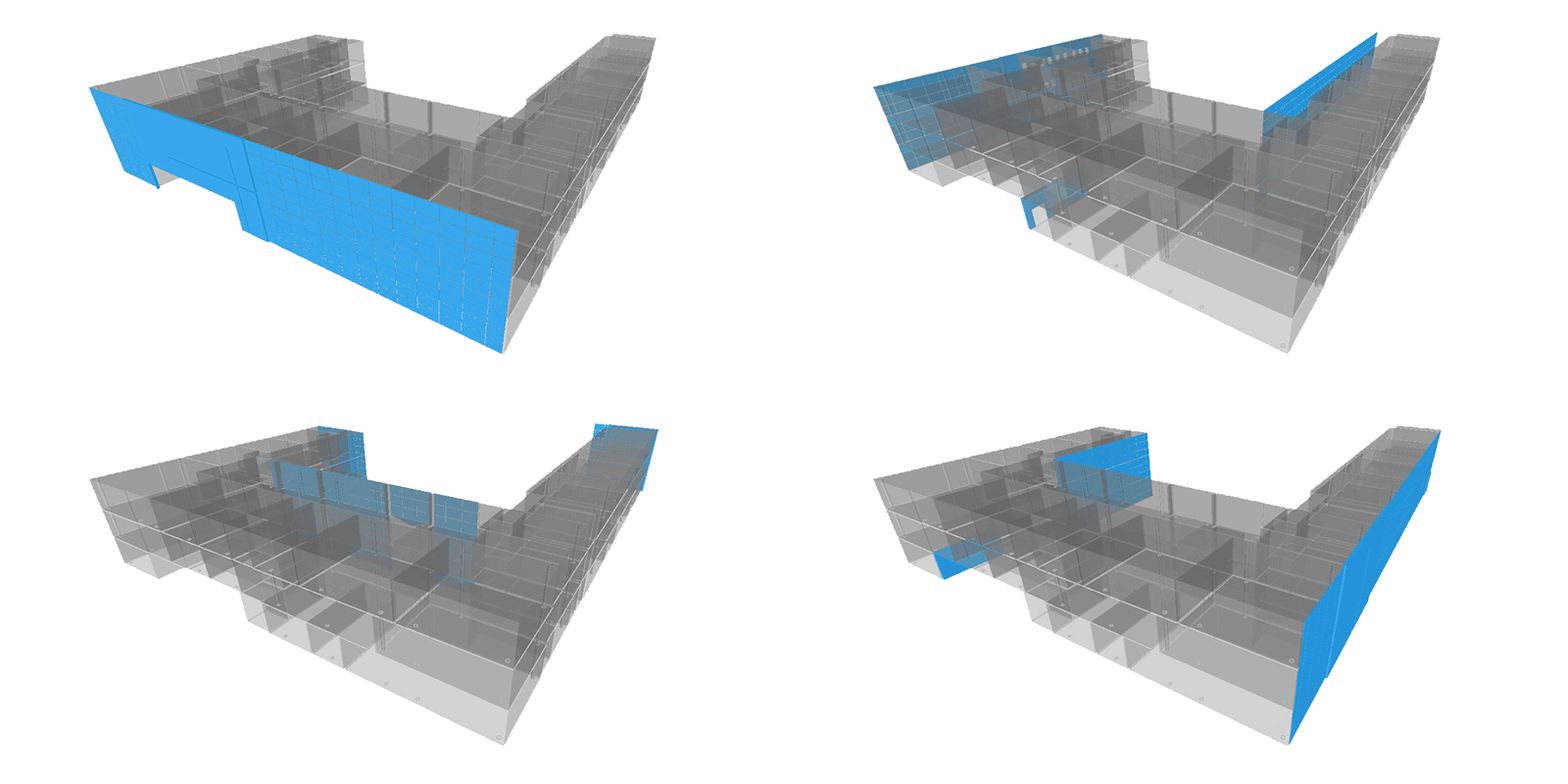
OBJECTIVES: Query all exterior Wall elements, use the underlying geometry to determine direction of each wall, sort walls by cardinal directions or bespoke orientation system, and calculate proportion of facade areas for each direction.

OBJECTIVES: Query all exterior Wall elements, use the underlying geometry to determine direction of each wall, sort walls by cardinal directions or bespoke orientation system, and calculate proportion of facade areas for each direction.

OBJECTIVE: Color specific items for analysis, visual clarity, and storytelling

OBJECTIVE: Color specific items for analysis, visual clarity, and storytelling

The live demonstration was recorded for your viewing pleasure. You may notice the video starts a little late due to technical difficulties but no significant content was missed. Presentation slides and the Dynamo file can be accessed HERE.

Even with a rush towards the end, I was able to successfully make it through all the content. I appreciate the audience being super receptive and patient given the hands-off format. And a very special thank you Timon Hazell, John Schippers, and Dana De Fillippi for the opportunity.

DynamoDC audience

DynamoDC audience

Kyle's "home studio" setup

Kyle's "home studio" setup

The other day I received a surprise t-shirt in the mail as a thank-you, I will wear it with pride!

Image 5_DynamoDC t-shirt.jpg

Common Selection Methods Using Dynamo


The Dynamo visual programming add-in for Revit enables advanced information gathering, rapid model changes, and repetitive task automation previously not available with the out of the box tools. Working with robust Building Information Models often requires surgical list management -- the act of gathering, filtering, re-structuring, sorting, or otherwise altering clusters of data or information. Of all possible list management operations, the ability to target and isolate information is essential. In my experiences using Dynamo I have encountered many methods for selecting and isolating model elements, parameters, and numeric values in Revit. The following are some of the most common approaches that I find myself using time and again.


SELECTION BASICS:

As an introduction to selecting items from a list I will be using the English alphabet (26 characters) as my dataset and I am searching for the letter D. Below are descriptions for four of the most common selection nodes. Notice how the output of each use a "true" or "false" value. This is called a boolean operation -- a computer science term for anything that results an either of only two outcomes (binary): true/false, yes/no, 1/0, black/white, etc.

  1. Contains - this node produces a true/false result to whether the list contains any occurence of the letter D (plugged into the "element" input port). Although the outcome is true meaning yes the list contains the letter D, this will limit us from being able to isolate this letter in later operations.

  2. List.ContainsItem - similar to the Contains node, this node also searches the entire list for the letter D. However by changing the lacing to Longest -- right click the symbol in the lower corner (see red square), go to Lacing, and click "Longest" -- the letter D is checked against every item in the alphabet and the only true value returned is at Index 3 where D resides. The downside of this approach is that a sublist is created for every item in the alphabet meaning that we would need to flatten the list -- collapse everything back into one list of true/false values -- before continuing on to further operations.

  3. String.Contains - this node is excellent for searching through lines of text for a particular word or select group of words. In this case since the alphabet list only contains a single letter at every index, this node can be used to find the letter D. However, if the list contained the names of fruit and we searched for the letter "a", the node would return true values for any word containing an "a" such as banana, apple, pear, etc. For this reason, using the node to search for singular items can be problematic.

  4. == (match) - the double equals sign is a symbol that comes from computer science where a singular equals sign indicates a math calculation therefore two equals signs means that something is "the same". This is my favorite node to use for selection operations because it will find matches for any input type whether a string, number, piece of geometry, or Revit element.

After using the contains/match nodes above to determine true/false values, the output can then be paired with the List.FilterByBoolMask node to split the outcome into two separate lists. In this case, using the == node generates a true value at Index 3 and false for all the rest. This list of true/false values is plugged into the List.FilterByBoolMask node as a mask to filter the original alphabet letters. The outcome is the letter D isolated into its own list.


SELECTING MULTIPLE ITEMS:

Oftentimes when working with a BIM model, you are looking to match multiple values at once. Building on the list management principles above, you can easily search the alphabet list for more than one letter. Inputing more than one letter into the == node requires that you switch the lacing to "Cross Product" (see small red square) because you are attempting to match multiple items against a list of multiple items, meaning that you need to pair all possible combinations. The result is a list of 3 true/false values for each letter in the alphabet since the == node is attempting to match the letters F, R, and X for each. Since we are checking for any match of those three letters, using the combination of List.Map and the List.AnyTrue node from the Clockwork package will comb through each list and identify whether any matches occur. The last step is to feed the new list of true/false values into the List.FilterByBoolMask node and the letters F, R, and X are separated from the rest of the alphabet.

I recently discovered a second approach to isolating a list of search items. Using the NullAllIndecesOf node from the SpringNodes package combs through a list and returns the Index number of any matching items. This can then be used in concert with the List.GetItemAtIndex node to extract the values from the original list at the matching indeces. This node works especially well if the list being searched has repeat instances of the values you are searching for. Also notice how there is no more need for the use of boolean (true/false) values as an intermediary step.


ADVANCED SELECTION - REVIT ELEMENTS:

The above list management principles can be applied to isolating and extracting elements from Revit. For example if you want to gather a list of all the chair families placed in a Revit model:

  1. The combination of Furniture in the Categories node and All Elements of Category will generate a list of all furniture families.
  2. Since we only want chairs, grouping the model elements by their family name will create organized sublists.
  3. The grouped sublists can then be searched for the word "Chair".
  4. Since the model elements are grouped in multiples of the same family, the combination of List.Map and the List.AnyTrue node from the Clockwork Package will check every sublist to see if any of the items contain a true boolean value for the text "Chair" in the family name. Another method for doing the same thing would be to use List.Map in concert with List.FirstItem, which would extract only the first true/false value from every sublist.
  5. The last step is to use List.FilterByBoolMask to filter out only the grouped sublists of Revit model elements that contain a boolean value of true.

One advantage of understanding list management principles is that tasks can be achieved from multiple approaches. Here is another variation of the above method for collecting all chairs in the model:

  1. Use the nodes Categories: Furniture and All Elements of Category to extract all of the furniture families.
  2. Get the name of each family and look for those that contain the word "Chair".
  3. Filter out all elements that did not yield a true value using the List.FilterByBoolMask node. As a means of verification you can insert some Count nodes to check how many families have been identified as chairs vs. other.
  4. Given that all of the model elements coming from the In output port of the List.FilterByBoolMask node, the final operation is to group all of the elements according to their family name. In theory this will get you the exact same results as the previous method.

There is an even easier way to select model elements, once again by using the NullAllIndecesOf node from the SpringNodes package:

  1. Collect all furniture families from the model.
  2. Use the NullAllIndecesOf node combined with the name of the families and the List.UniqueItems node to identify the individual indeces where matching items reside in the list and group them according to their shared family names.
  3. Feeding the sublists of indeces into List.GetItemAtIndex will extract the model elements from the original furniture list and group them accordingly.
  4. The last step would be to filter out only the chair family groups (not shown in the image).

Specific families or parameter values can be isolated using the == (match) node:

  1. Collect all furniture families from the model.
  2. Use the == node to compare a specific chair name against the list of family names to produce a list of corresponding true/false values.
  3. Filter out all of the Revit model elements that contain a true boolean value with List.FilterByBoolMask.
  4. Optional: apply a Count node to get the total number families placed in the model for that specific item.

Please keep in mind that these examples are only some of the methods for selecting and isolating items using list management and they may not necessarily be the best methods. Different tasks and model configurations will require different approaches but the more time spent practicing list management, the easier it will become to customize a solution for any problem.

For more on list management I highly recommend that you take a look at Chapter 6 of the Dynamo Primer . Also, check out this excellent post by LandArchBIM .

Visualizing Rooms by Color with Dynamo

Using the Dynamo visual programming add-in, it is possible to isolate room geometry in a Revit model and color-code specific room types for the purpose of visualization. This workflow can be extremely helpful when trying to track down a lost room, visualize unit mixture, or analyze the adjacency and diversity of various rooms in the model. Ultimately this Dynamo method adds yet another tool that can be customized for a multitude of model validation tasks.

 FULL DEFINITION: Step 1 (green), Step 2 (blue), Step 3 (orange), Step 4 (magenta)


FULL DEFINITION: Step 1 (green), Step 2 (blue), Step 3 (orange), Step 4 (magenta)

Workflow:

Step 1: collect all Room elements from your Revit model by their room name parameter and then isolate the perimeter geometry of each.

Step 2: match the list of all rooms in the model against the name of one particular room you are looking for (String node in the red circle). Using the List.FilterByBoolMask approach, any null items (often due to unplaced or duplicate rooms) are filtered out that can potentially break the definition later on down the line. The perimeter lines of the filtered rooms are then used to generate a 3D extrusion of each room shape.

image 4.jpg

Step 3: the list of 3D room shapes is then passed to the Display.ByGeometryColor node to colorize in the Dynamo geometry preview mode. Each unique color requires an RGB color code. You can find custom RGB color values in Adobe Photoshop or Illustrator, or by going to websites such as Kuler and COLOURlovers .

image 4.jpg

Step 5: once the definition is set up for one room name, the central cluster of nodes can be copied for all other room names. If everything is correctly set up, a series of colored rooms will appear in the 3D geometry preview.

Step 6: for means of validation, a count can be taken of all rooms that have been collected from the Revit model and fully processed. Comparing this count to a schedule an Revit will verify whether all targeted rooms were accounted for and visualized in Dynamo or not.

With this approach, all rooms can in the Revit model can be queried, sorted, and visualized.

Additionally, this Dynamo definition can be simplified by utilizing advanced list management tactics, eliminating the need to copy the central of nodes for each unique room name.